Star Trails
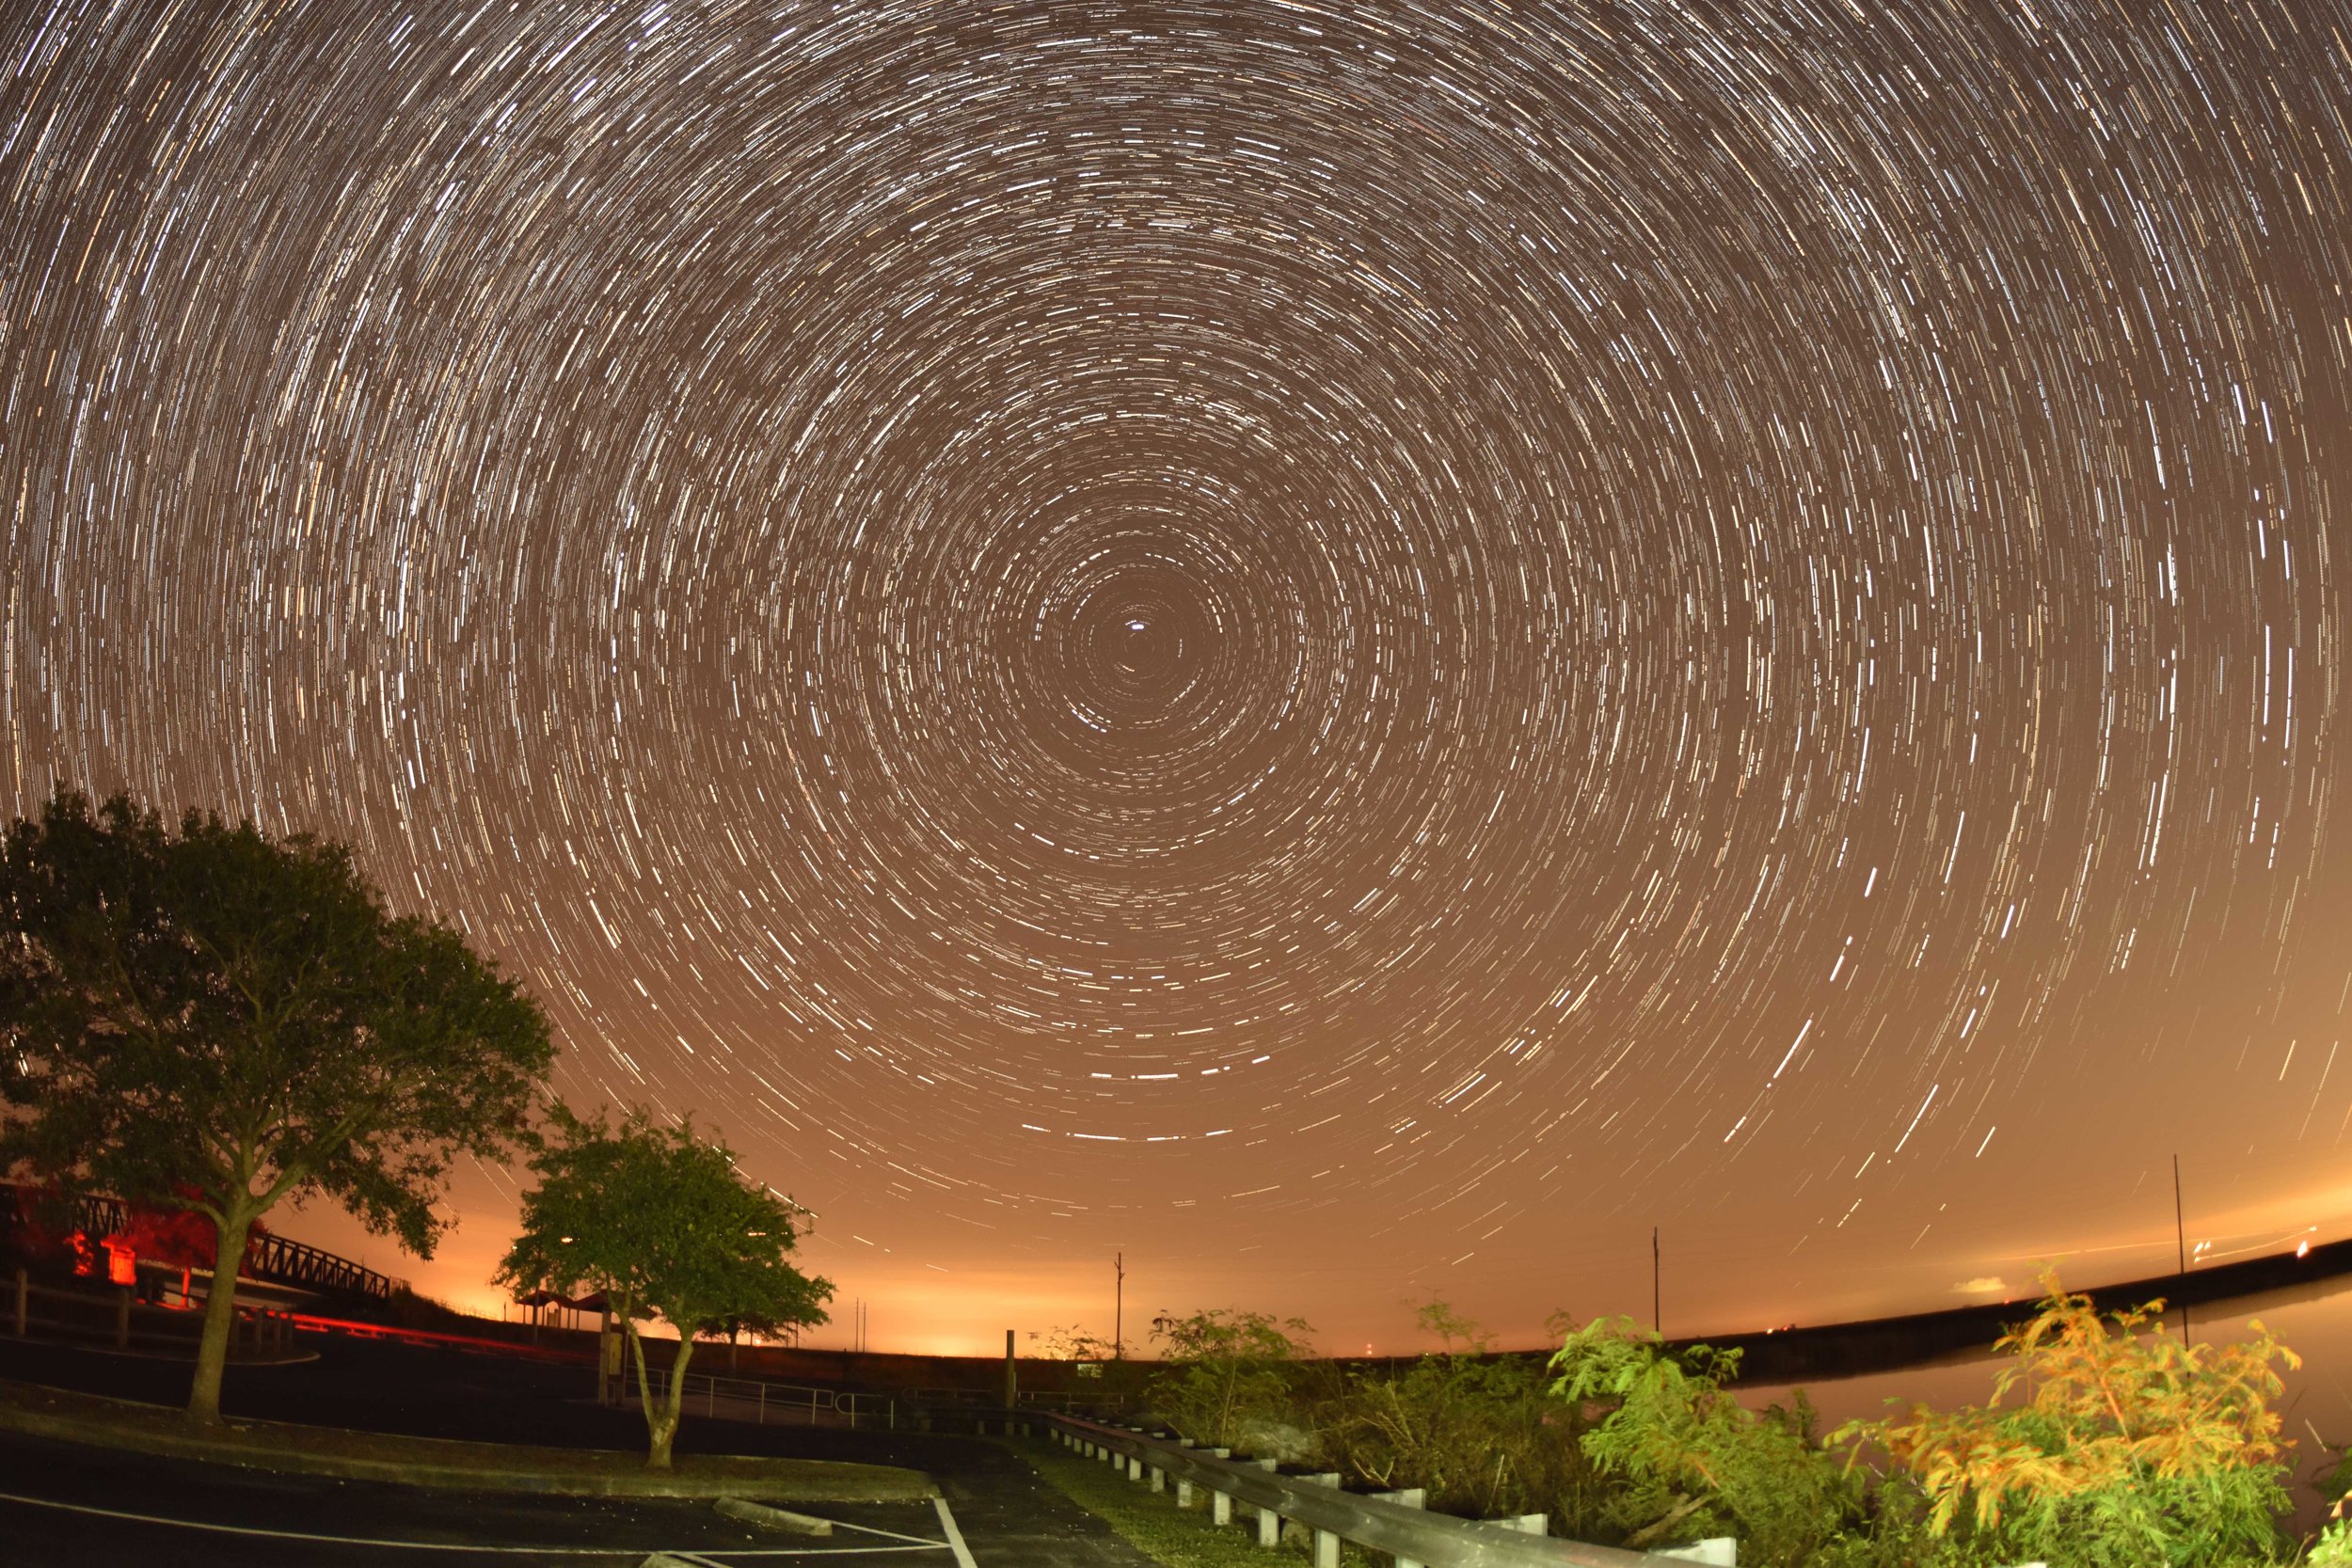
Astrophotography can scare people off when they start looking at the expense of Astronomy grade CCD’s or CMOS Cameras. Most people don’t realize you can easily use your DSLR for many types of images. Dslr’s are great for Star Trails, Milkyway images and even large wide field shots of the sky with standard lenses or connecting the camera to the back of a telescope. Newer DSLR’s have many features built in for astro imaging such as a built in Intervalometer, Multiple exposures, Live view, time lapse, etc. One of the easiest and fun images is the well know Star Trails. Star Trails show the rotation of the Earth around the north celestial pole. The best thing about star trails is that you don’t need any tracking equipment, just a camera and a tripod. If you do use tracking equipment when attempting star trails you will typically end up with perfect stars and your foreground will end up getting distorted.
The below tutorial will start from setting up your camera to final processing. This process can even be done with an in expensive point and shoot provided it can automatically capture multiple exposures.
1) The first thing to do is to setup your camera on your tripod and aim the camera at Polaris. If you don’t have a tripod then you can rest the camera on a flat surface. You want to try to center Polaris as much as possible on your live view screen or in your viewer.
2) You then want to use live view or take exposures and get as close a focus as possible. Its important here to focus and pinpoint the stars over having terrestrial objects in perfect focus. You will need to digitally zoom in on the stars to see if they look like donuts or pinpoints.
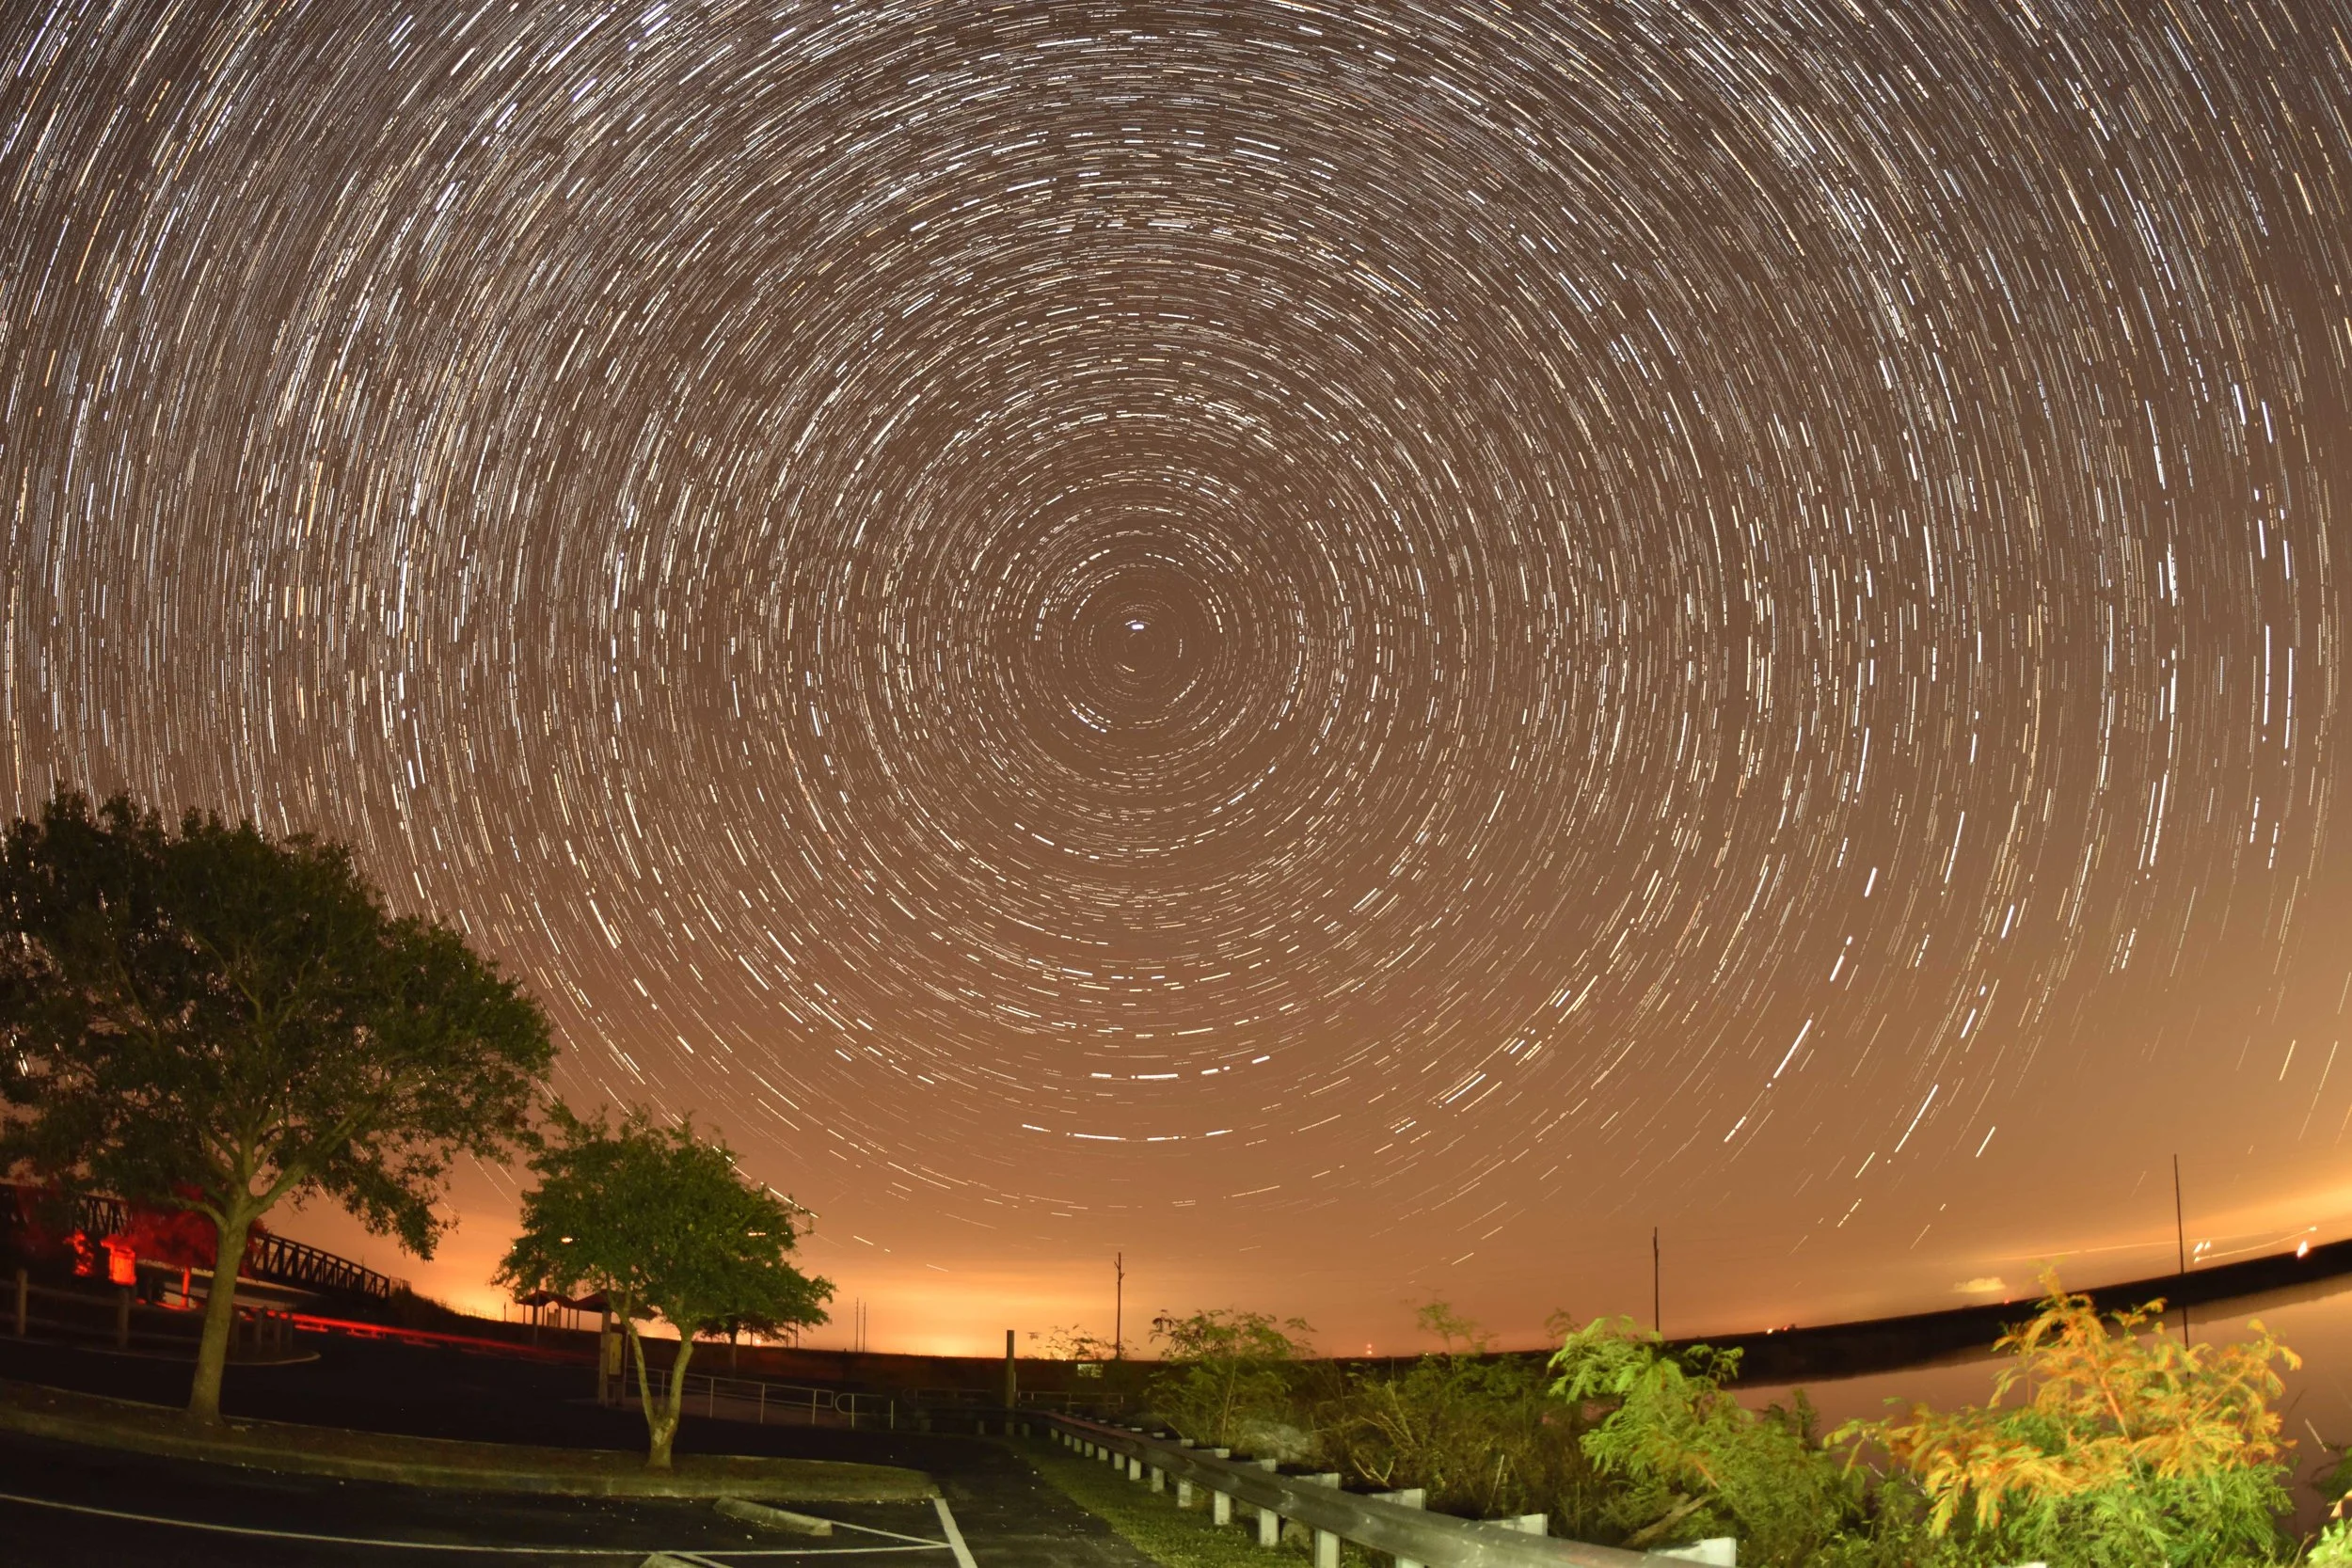
3) Once you have achieved focus setup your intervalometer to take exposure somewhere around 20-30 seconds. Your ISO and F-Stop will depend on your location and how much light pollution you have. When I took the above image I was using a SIGMA 15mm 180 degree Fisheye at F2.8 & ISO 1800. Now if you set your exposure to long you will end up with small star trails in your images. Although that’s the effect your going for try to reduce the exposures so your images don’t generate trails and the stacking software will create them for you.
4) If you have a multiple exposure option try to run it to capture 300-400 images. Keep an eye on the camera in case it stops due to buffering or some other technical problem. If your camera stops exposing you can end up with gaps in the trails. If you do end up with gaps in the trails there are programs that can fill those in however I think small breaks adds a nice visual to the image.
5) Once your exposures are complete its time to process them. I use StarStaX for my Star Trail processing. StarStax is a free program that allows you to import a data set and it will stack the images producing the trails. StarStax can be downloaded at: Star StaX.
6) When preparing to import your images into StarStax you will need to convert them into .jpg. StarStax will not accept .raw files. Once the files are imported you have the option to click on each file to see the quality of the image. I recommend going through and deselecting any images with airplanes, satellites or other light anomalies. If you leave them in they will affect the look of the image. Clouds on the other hand are generally stacked out of images so don’t throw away images that may have some passing clouds.
7) After you have all the images you would like to stack click Edit and Start Processing and the program will start stacking. You will be able to watch the trails being made and you can see if there are any problematic images you may need to remove as its stacking. If you see an issue in the stack you can stop the processing. When you stop the processing the last image processed will be highlighted and you will be in the general area of the problem so its easier to find.
8) Once the image is process you can save it and you have your Star trail image.
On a side note you can also take all your exposures and create a nice short time lapse as an added bonus.
If you choose to get into Astrophotography using a DSLR check out the Astronomy Programs page and see your options for controlling your camera to take astro images.